
October 7, 2026 · Kingsley Iyeawoji
Student Visa Preparation: Organise Your Evidence Before You Apply
Updated October 23, 2026
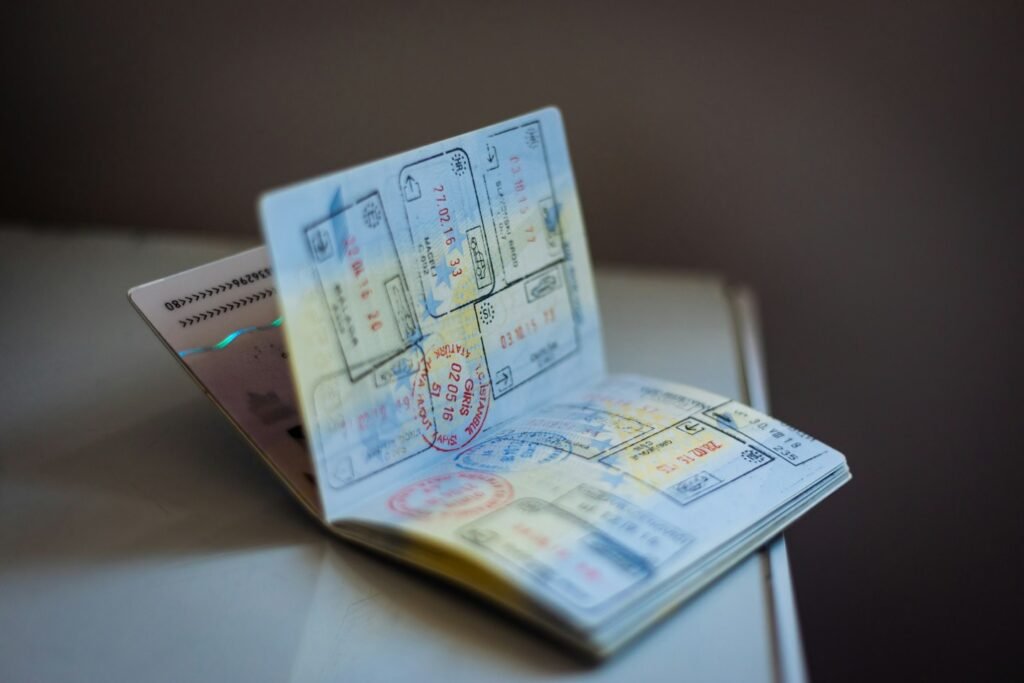
A university offer is an important milestone. It is also the point where a new set of questions begins: which immigration route applies, what evidence is needed, and when should you commit to travel? The safest starting point is the destination government’s guidance for your circumstances, followed by a careful check that your documents tell a consistent, truthful story.
This guide explains an organisation process for Nigerian and other international students. It is general information, not an individual immigration assessment.
Which official visa route applies to your circumstances?
Write down your destination, citizenship, current country of residence, course level, duration and intended start date. These details can affect the applicable route and instructions. An applicant residing outside their country of nationality may need to follow additional local procedures.
Start at the immigration authority’s official website and follow its links to any application portal or authorised appointment provider. Social posts and student groups may help you notice a question, but they should not be the final authority on the answer.
For Nigeria-based applicants, use the instructions applicable to applications from Nigeria rather than a checklist copied from an applicant living elsewhere. International readers should make the same check for their own application location.
Record the official page URL and date checked alongside every requirement. Revisit the guidance before submission because a checklist saved months earlier may no longer be sufficient.
2. Separate admission documents from immigration documents
Different countries use different evidence and terminology. Do not replace a required immigration document with an ordinary admission email because both mention the same university.
| Destination | Official guidance to consult |
|---|---|
| United Kingdom | The Student visa document guidance lists a passport or travel document and a Confirmation of Acceptance for Studies, with additional evidence depending on circumstances. |
| Canada | The study-permit document guidance covers acceptance evidence, identity, financial support and whether an attestation letter or other documents apply. |
| United States | The student-visa guidance explains the relevant process and the role of Form I-20 for F and M students. |
These examples are starting points, not complete checklists or eligibility decisions. Read the current UK guidance, Canadian guidance or US guidance for the route you intend to use.
3. Build an evidence register before uploading files
For each requested document, note who issues it, when it was issued, whether it expires, how it must be translated if necessary, and where it belongs in the application. Distinguish between an original, a certified copy and an ordinary scan when the instructions make that distinction.
Compare your name, date of birth, passport details, course title and study dates across the form and records. If there is a genuine discrepancy, use the authority’s correction or explanation process. Never alter an official document to make an inconsistency disappear.
Open the final uploaded files, where the portal permits, rather than relying on filenames. Check for missing pages, unreadable stamps and password-protected files that a reviewer may not be able to open.
A simple register can use five columns: requirement, official source, document held, issue to resolve and completion date. Store the folder securely and limit access to the people who actually need it.
4. Plan financial evidence around the rules
Read the route-specific instructions for acceptable funding evidence, amounts, dates and any required holding period. The fact that money exists does not automatically establish that a particular document meets the relevant requirement.
Where a family member or organisation is supporting you, check whether that arrangement is accepted and what relationship or sponsorship evidence is required. Use genuine records and answer questions about funding accurately. Do not borrow a bank statement, buy fabricated evidence or conceal how funds were obtained.
Nigerian applicants should budget separately for exchange-rate movement, payment charges and the timing of transfers. Other international applicants should do the same in their own funding currency. Personal contingency planning does not replace an immigration authority’s specified proof-of-funds rules.
Use our study-abroad budget checklist to organise costs, then verify the actual evidence requirements through the official route guidance. This article deliberately avoids quoting a universal funding amount because no single figure fits every destination or applicant.
5. Explain your study plans honestly
If the process asks for an explanation or interview, be prepared to discuss the course you selected, your preparation and your funding arrangements. Read your submitted application beforehand so that your answers reflect the records you provided.
A practical rehearsal is to explain your plan in plain language to someone who does not know your background. Can they understand why this course follows from your previous study or work? Can you explain what you will study beyond the programme title?
Rehearse understanding, not a memorised performance. Do not conceal previous refusals, travel history or other facts when the form asks for them. If you are unsure how a question applies to a complicated history, seek appropriately authorised immigration advice for that jurisdiction.
6. Review the application before payment and submission
- Confirm the route, application location and official portal.
- Check every factual answer against your records.
- Resolve unexplained differences between documents.
- Check any required translations and document-validity periods.
- Save the completed application, receipts and reference numbers.
- Record any appointment or follow-up task separately.
If someone helps with administrative preparation, retain your own access and review what will be submitted. Clarify the scope of the service and any limits on the person’s authority to provide immigration advice. No adviser controls the government’s decision.
7. Keep travel and arrival plans flexible
Check official processing information before planning a departure, but do not treat an estimate as a personal deadline or guarantee. Read cancellation and change terms before paying for flights, accommodation or other commitments.
When a decision arrives, read the permission and its conditions carefully. Check the identity details, validity, travel instructions and any steps required before or after arrival. A visa or permit decision should not be treated as a blanket promise about employment, dependants or future residence.
Keep your university informed if a delay could affect enrolment. Ask about the last permitted arrival date and deferral arrangements in writing rather than assuming a late arrival will be accepted.
For help organising the wider process, explore Gallant Edu Travel’s study-abroad resources or send a planning enquiry. Individual immigration questions should go to the relevant authority or an appropriately authorised adviser.
Official sources checked 7 October 2026. Immigration rules change and individual circumstances matter. This article provides general preparation information and does not guarantee a visa outcome.